Monday, January 11, 2016

The Evolution of the Sistahoodz Sweaterless Sleeve

 The Day Sistas

When I am not creating things, I like to create community or what I like to call co-MOON-ity, online with my cybertribe,  Sistahoodz, on  Facebook. The amazing people, mostly feminist based women, who are my peeps surround me with love and friendship that I find very healing, not just to me, but to many. I use the Sistahoodz page to show off my creations and from there, folks can show an interest and I made a few shekels which affords me my sweater habit. When I am not making coats, I make smaller items that more folks can access to be able to carry something with that non-muggle sistahoodz vibe. The most popular by far are my armwarmers. When I saw that there was a whole Pinterest section for legwarmers, it dawned on me that there would also be a whole section for armwarmers. This led me to a natch process of collecting a bunch of photos of past marathon sleeve sewing sessions, to share. 

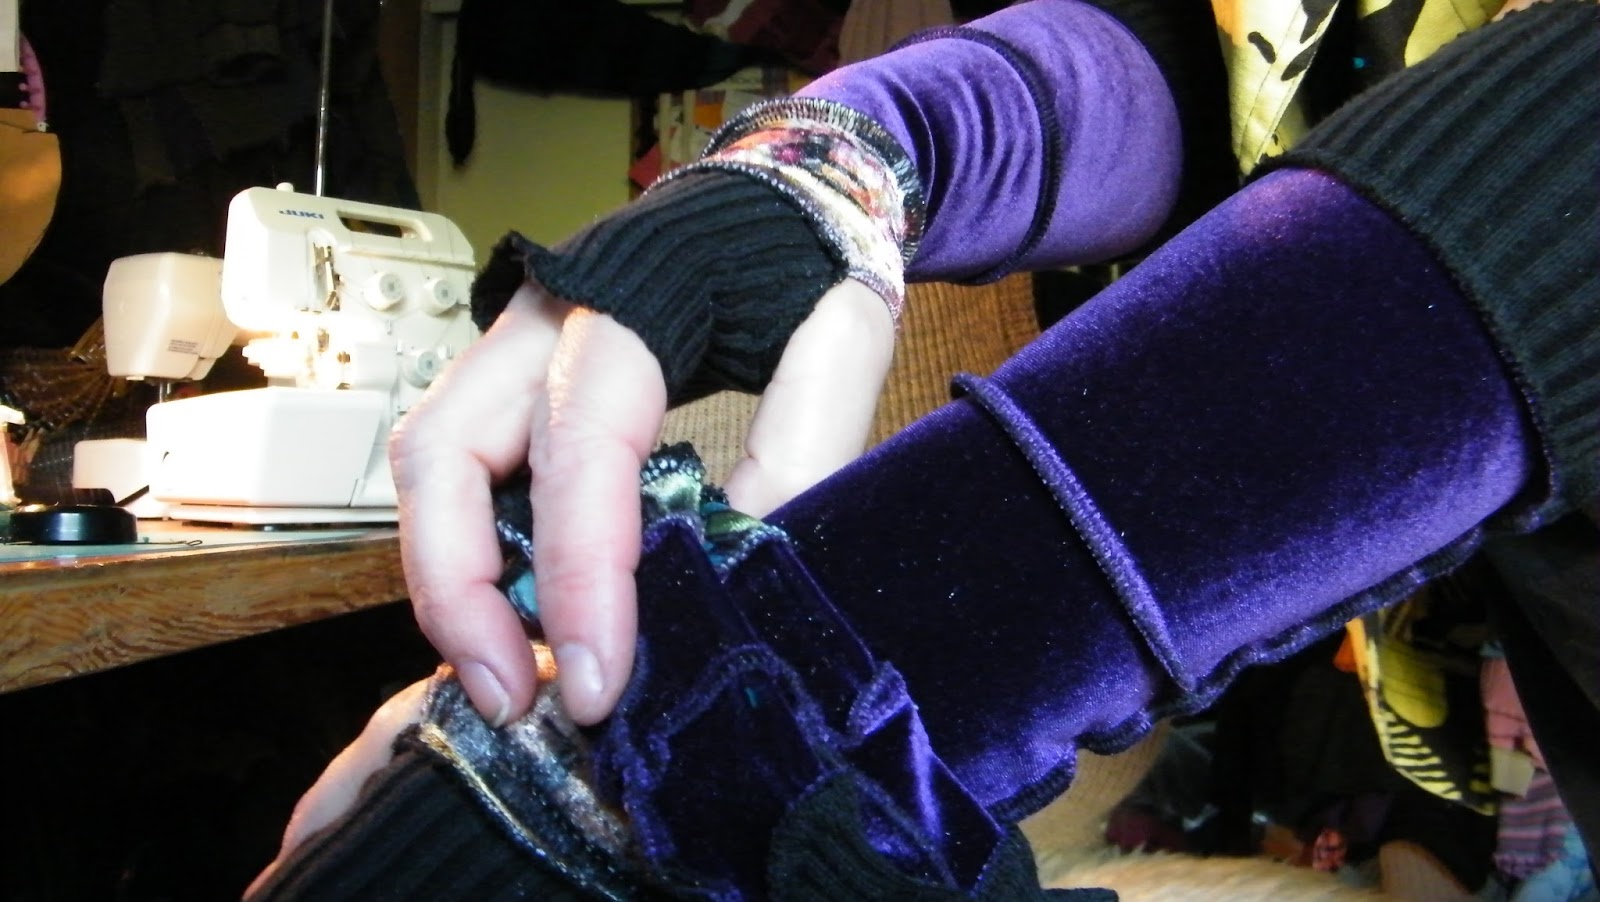
Sleeves! Arm warmers. B.S deflectors. This is the common style, with a thumb hole at the end where the fancy schmancy section usually is. I must have made a thousand of them and I never get tired of it.

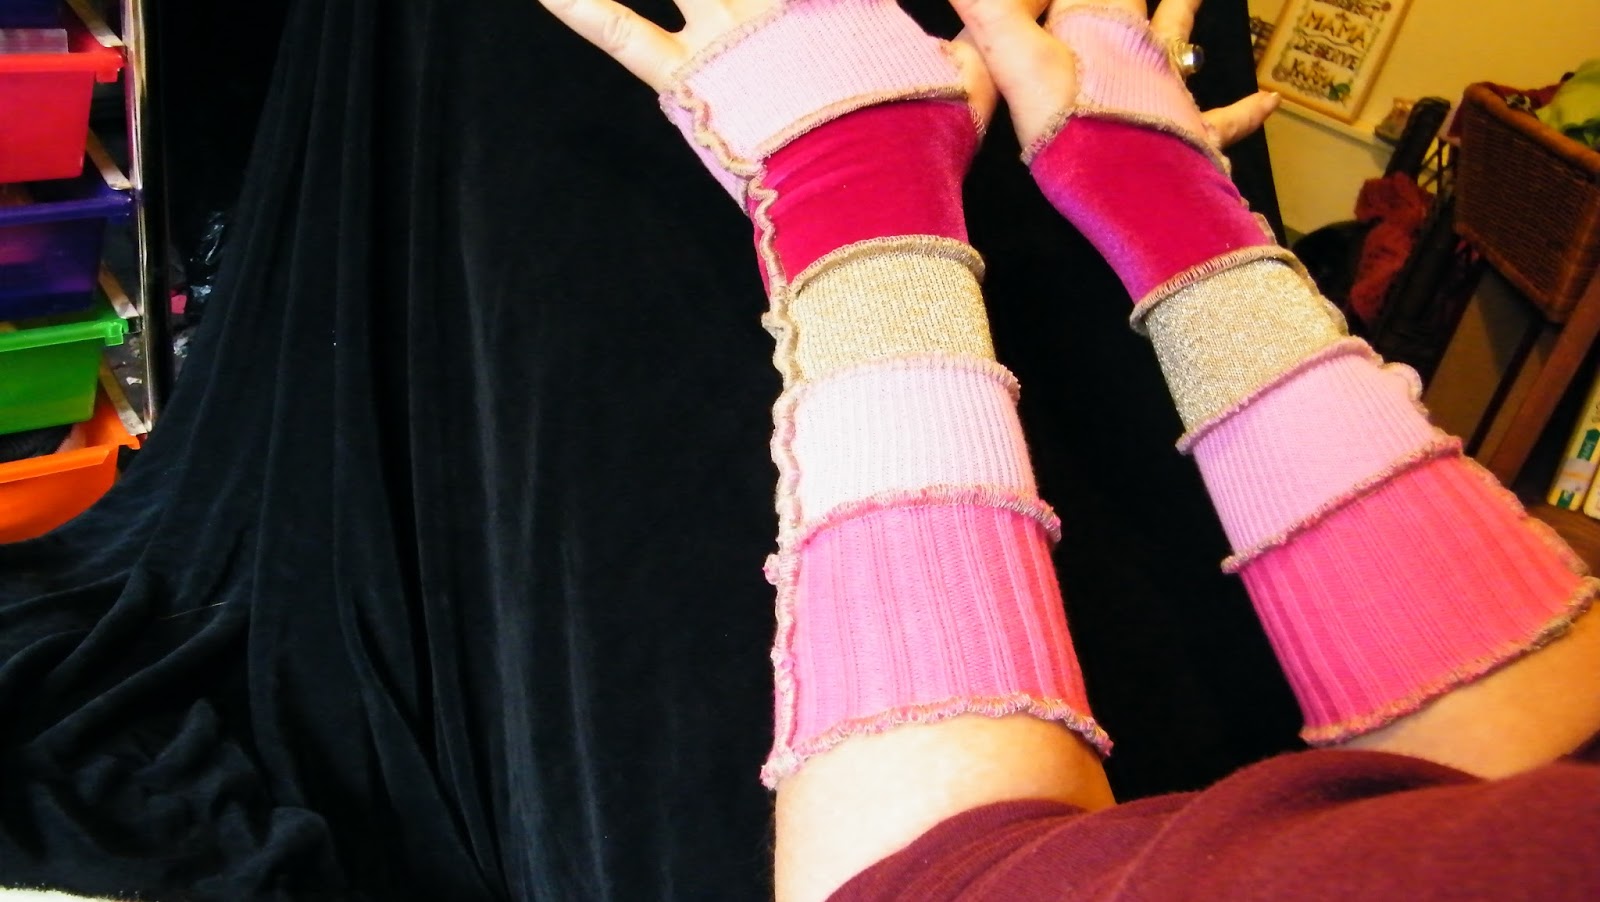
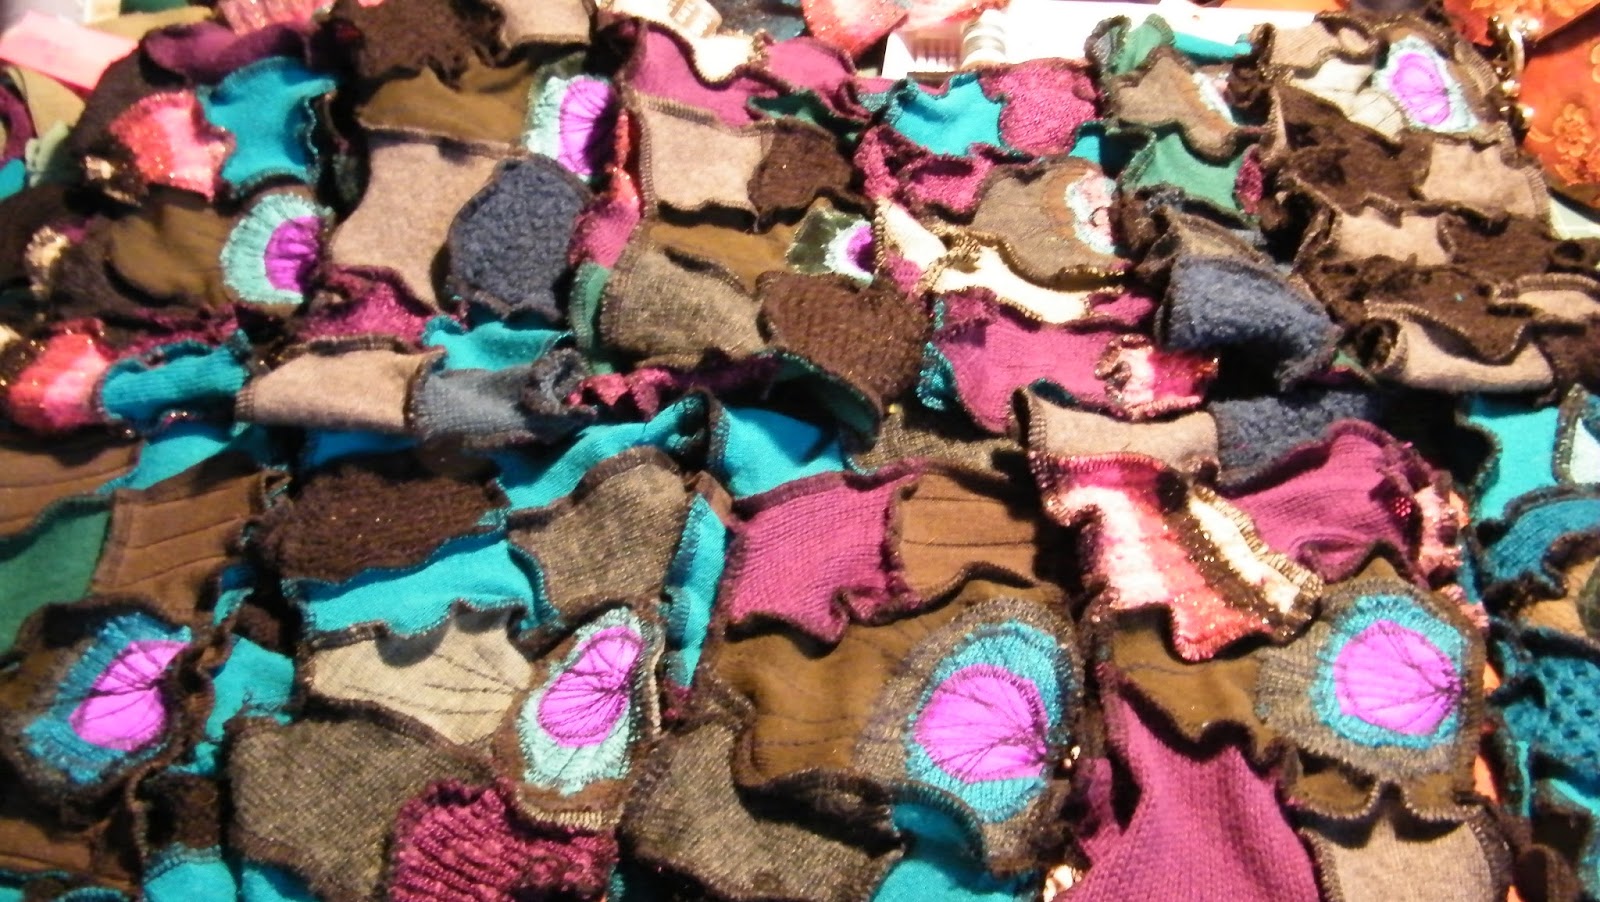
So here then, is a collection of photos that document my sleeve adventures...


Then I couldn't leave well enough alone and I began embellishing the sleeves with bits of precious gems/pearls and my little handcrocheted floral decorations...


This was a pair for an 8 year old girly girl. I think I nailed it.


These kick the sleeves up a notch and add $10 to the price.  I use semi precious stones, pearls, amber, buttons, you name it. The flowers themselves are created using all manner of fibre ... I have a LOT to choose from... Noone else will have anything remotely like YOURS.


Here is a  happy dozen... you get 13 for the price of 10, YOU can pick the colour basics and wether you want the style with the traditional tube and thumbhole or the elfen variety.  Feel the power. I'm at your command when it comes to handmade gifts and supporting your sistas.


Then you can see, I got a little tricky, and started to put together a sleeve that was more elfin. I am still thinking that these would be great in the festival circuit...


And then we have Sistahoodz fan mail, where the lucky recipients of my love on their arms send me photos wearing their Sistahoodz sleeves and armwarmers.


This has got to be my fave photo of all of my Sistahoodz albums.

 The Day Sistas
A photo so nice, I had to use it twice in the same article. Don't you just love the ingenuity of the composition? Those Day wimmen, I tellz ya. They haz the right stuffs.

Lets start pinning these shall we?

IF you are interested in commissioning me to make you some love for your arms, message me on facebook at Sistahoodz, or else email me on my gmail... resourceressbudeweit@gmail.com

I believe my prices are comparative to anything out there, buy more than 4 pairs and you can get away with as little as $10 a set for the basic design... If you order a dozen by Oct. 31, you will receive 13 pairs in time to gift them at Winter Solstice, a great plan to take 12 small gifts off your giving list.Talk to me.

Live in the Victoria area and interested in learning the craft of upcycling? That's possible too! Just let a Sourceress know!


Tuesday, December 29, 2015

The Carousel of Hearts


Introducing the Sweetheart Sistahoodz record breaker. Meet the Carousel of Hearts. Hearts on your sleeve, almost 50 hand sewn all over the coat, Zip front, custom knit heart pockets with retro buttons and a hood as long as the hem and then some.


This was truly a labour of love. Designed to get any wearer through difficult times.

Can be seen in person at Lobelia's Lair, Nanaimo BC Canada where it is currently on display.

Fits a curvy medium to large with busty stretch. 

24 foot hem for festival spinning. 


Sunday, December 27, 2015

Catching Up with Four Years of Sistahoodz Shenanigans Part 1 - The Nola Hood

Gonna try to back track a little bit over the past while and bring up some of my endeavours in upcycling sweaters. Enjoy my little trip down memory lane.

Meet the Nolahood... 


The instructions were orange and black and that it be comfortable in the car and playing poker in the cold hall. This coat lives in Sechelt.


I like to do a harlequin design by repurposing sweaters and knits I either knit myself or from upcycled gear and then using quilting techniques to pull together new treasures. Given the mature body of the owner, it had to graze her hips and have give, move with her and not strangle her as she is naturally hot blooded. I took all this into consideration, designing Form meets Function. My fave yet.


Its not bad decorating a bare wall...


Comfortable, with a fit that creates an artistic silhoette, Nola's cardigan is a gold and black diamond crusted unique statement that lets folks know that she's got her lights on.


As it pulled together, it almost became a puzzle that sorted itself out as the developments progressed.


In grim winter, Nola snugs into her hooded cardie and knows that the light is returning. Hugged by what I made her, i hope it helps with  her challenges...

Wednesday, June 10, 2015

Ring Around the Rosie!


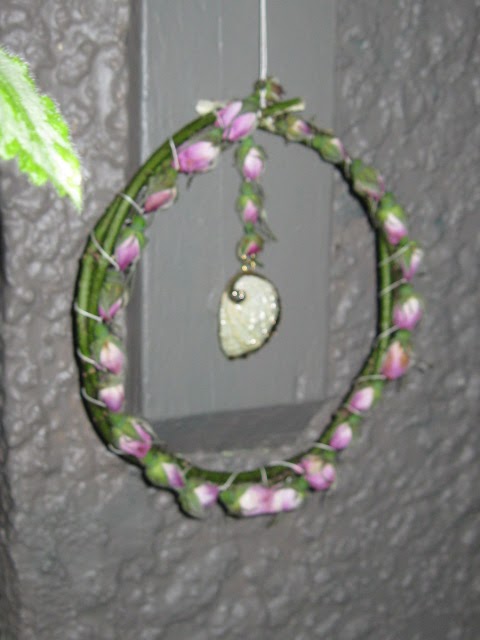
Here is this year's efforts at pulling material culture out of nature and making things that are connected to the land and that can work with your home decor to add a sense of connectedness as well as a lovely look and perfume.

A wrapped crystal allows this to generate energy on multiple levels.

As the art dries, divinely feminine tendrils begin to appear.

Adding a little shell with a touch of gold connects these rosebuds to the oceanside they were collected from...

A failed attempt at a five pointed star makes a small talisman anyways that still smells great.

Picking the buds and making sure there aren't any wormies in them, they will stay in this shape for several days till you can get around to using them to make your project.

Elder switches make a great form for backing your rosebud project, in this case, it became a heart.

Don't worry if the blossoms fall off because what remains is just as dazzling in its own way and adds to the sense of dimension of your rosebud art piece.

Play with the directions you lay your buds in...

Leave enough tying medium, string or whatever you're using, so that you can wrap it onto the item right after you thread the strand. The less you initially touch the buds while mounting them, the more chance you have of making a tough object that will not disintegrate as it hangs. Once your garland has had a chance to dry, those petals won't fall off, but being squeezed at the fresh stage will trigger them to drop the petals in the bud, so be gentle!


They sell well at yard sales, farmer's markets, boot sales, craft sales. They are what I like to call, the Canadian Lei, Aye?'

The hangings can be dreamcatcherish if you would like.


Pick the buds in a sustainable way so that you are pruning the branch ends and always leave at least one bud on each branch tip so that the plant's energy can go into producing that flower for our pollinators. Pruning buds judiciously ensures the rose bushes keep producing buds and its a win win all around.

I found a long needle that I use for most of my rosebud projects.

Tutorial's coming in the next year... How can you translate the gentle art of rosebud crafting to work in your community?

Please check me out on Facebook by clicking on www.facebook.com/sistahoodz and www.facebook.com/somethingoutofnothing123 for more wonderfulness in the vein of upcycling and creating beauty. Form meets function! Ex Nihilio!

From the bright mind of the Sourceress herself, Chris B (for Budeweit) Critter... Feel free to pin us to your pinterest interests!